Janos Audron Amigurumi
This one has been in the works for a very long time, but last weekend I finally finished the amigurumi of Janos Audron that I've been working on for (no exaggeration here) - around 2 1/2 years!
Let's get into the details.
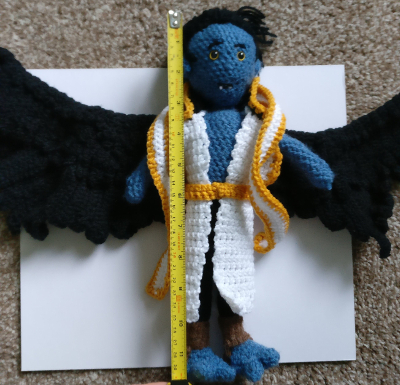
First of all, it cannot be understated how big this thing is:
1 foot tall and with a 2 foot wingspan tip to tip!
This was, like the Sunny doll, based on the patterns in AmiguruME by Allison Hoffman, though there were a few adaptations.
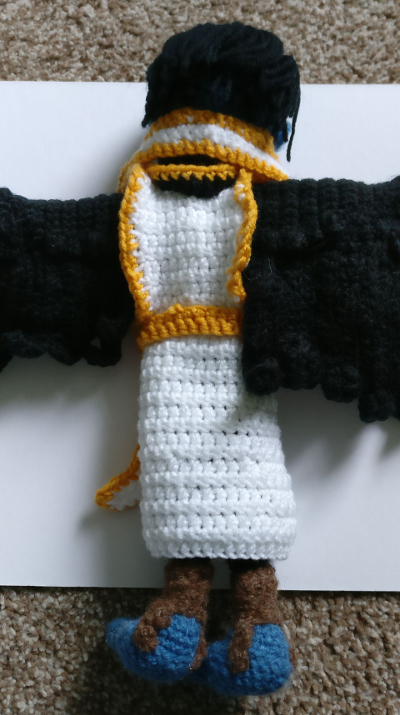
The most obvious one is the wings. When I started these off I was using a Magpie pattern from Hanneke's Designs. However, the free CAL (Crochet A-Long) period ran out while I was working on it, and I didn't have a backup. Rather than buying it, I reflected and felt that the pattern just wasn't quite right.
Eventually I managed to find this Pegasus by Crafty Designs, which I felt would result in something large enough with enough detail to satisfy me.
I really am too much of a perfectionist, but not so much that when I found the wings were slightly different sizes (due to my differing tensions) that I was willing to start again - this part alone took up the bulk of 2 years!
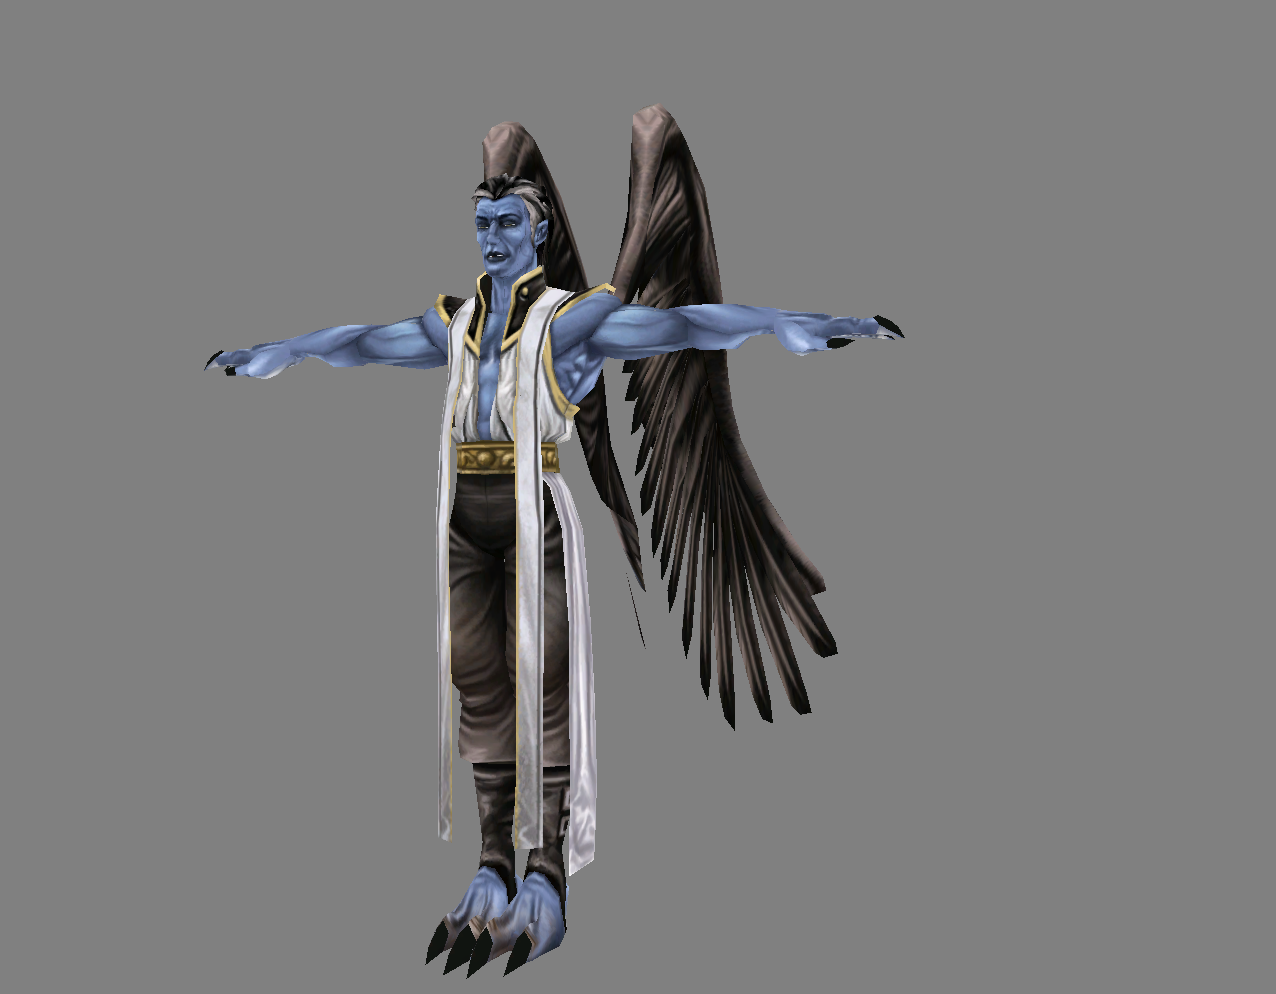
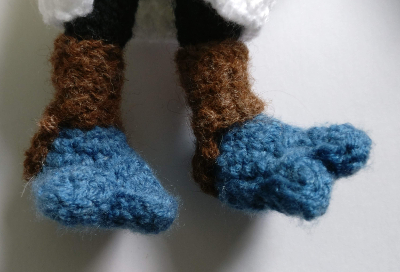
Another change is the feet. From the reference photos, you can see that Janos doesn't have shoes - he has exposed feet with two large claws, then wrapped in a sort of foot-wrap that goes around the balls of the feet. Another book I have, AmiguruME Pets (by Hoffman again) features a pattern for a dinosaur, where the ankle is the same width as for the human patterns! Perfect, except the dinosaur features 3 toes. As such I had to do some maths to resolve it (I'm hesitant to post the exact instructions, though, as since it's based on someone else's designs I'm not sure if that crosses a line)
The end result works very well, though!
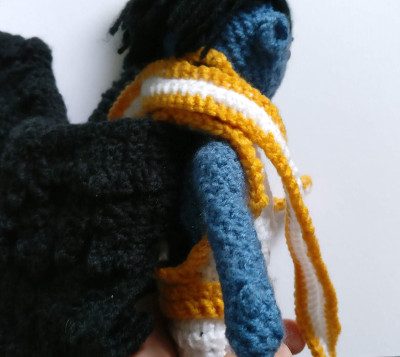
The next big issue was the tunic. Following Hoffman's pattern for a blazer, it didn't quite fit due to how I had attached the wings. As such I did each of the three sections according to the pattern, but effectively doubled the arm-hole piece (HDC across a row, then do the increase or decrease) - I also made one of the sections one row longer than the others (and didn't finish it off).
Once each of the three sections was done, starting with the part that I intentionally made longer, I effectively continued the stitching into the bottom of the back piece and then into the other side - as a result, they were naturally joined together rather than needing to stitch them with a thread and then continuing onwards. I added many more rows to make the tunic as long as needed.
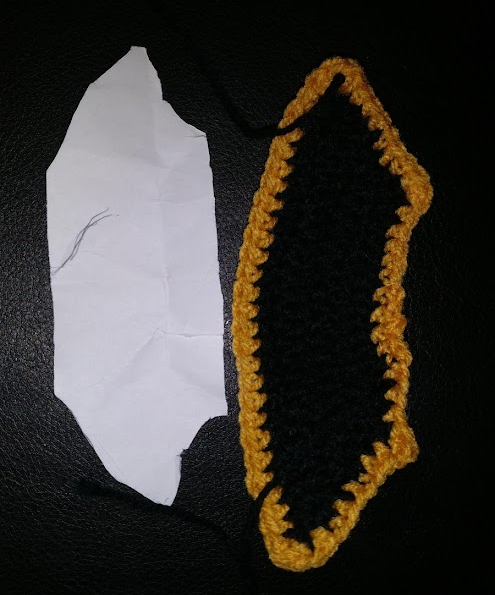
Then came the collar piece. Despite looking up patters for capes and pauldrons, I could not find anything appropriate, so I had to sort of free-hand it. I made a "model" out of a piece of paper, and then just stitched using it as a template. That also worked rather well!
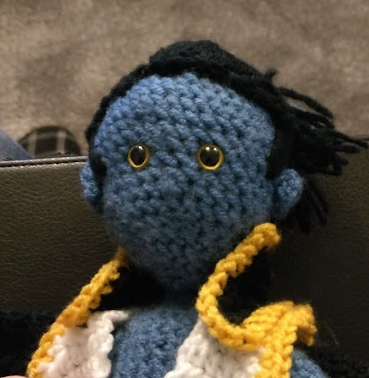
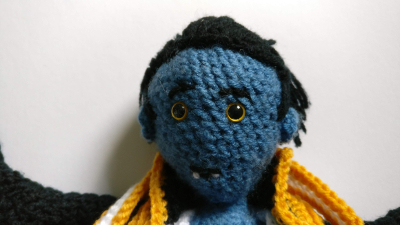
The final flourishes were a bit basic - a golden belt, a sash over the shoulders, and the face (including tiny stitches to be the fangs)
Over all, I'm happy with the result. I hope to never do wings ever again, but still want to do more Legacy of Kain characters (eventually)
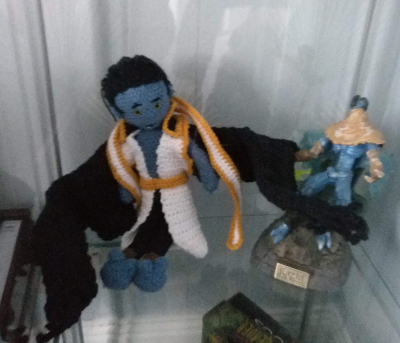
To finish, here's a close up of the face, and the final resting place: My display cabinet, with a Raziel toy for scale.



Comments